Publish data to Kakfa Broker
Overview
Create a Server that receives data in a object format and respond in another JSON format.
In the below example, a new object is created by extracting the values from the original JSON object.
Publish data to an Kafka broker.
Make sure you have followed the steps to create Kafka client.
Supporting Concepts
Basic concepts needed for the use case
| Topic | Description |
|---|---|
| API | An API in API AutoFlow is simply an OpenAPI model |
| Server | A server accepts and handles the request and response. |
| Simulation | Data simulation is a mock data simulated for the purpose of visualizing the data in every step of the workflow.
|
| Scope | A scope is a namespace for variables. |
| Data Types | Data types describe the different types or kinds of data that you are gonna store and work with. |
Use case specific concepts
| Topic | Description |
|---|---|
| Action json/encode | Provides the ability to encode data structures into JSON strings. |
| Action kafka/publish | This Action returns array that divides a string into parts based on a pattern. |
Detail
Original Object
The HTTP request has 2 inputs:
- data: main key that wraps the data
- field1: key where the "first name" is stored
- field2: key where the "last name" is stored
  {
      "data": {
          "field1": "joe",
          "field2": "blow"
      }
  }
Result
Return a Success reply from the Kafka publish action.
Success
Content
INPUT: HTTP Request
1: Create an API endpoint
Learn how to create an API.
Create an API
From the left navigation, go to the API section and create a new API.
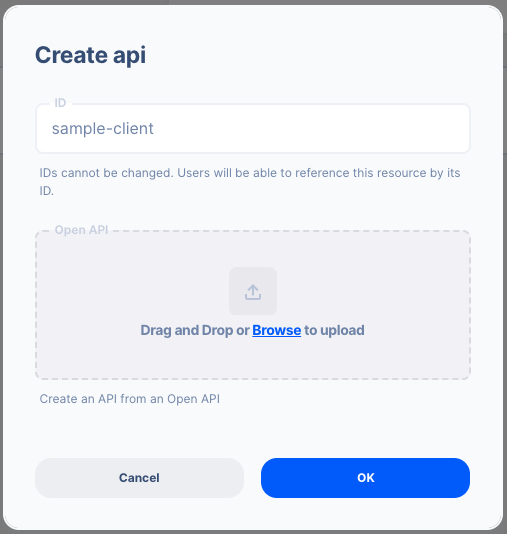
- ID:
sample-client
Create an API Path
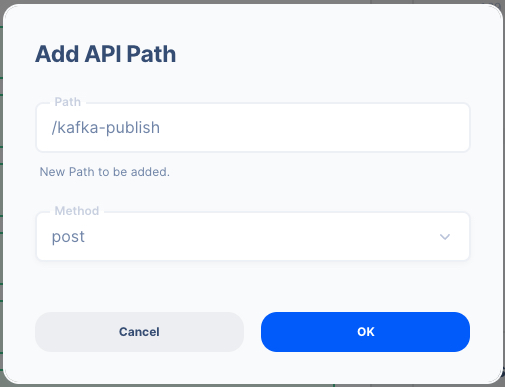
- Path:
/kafka-publish - Method: POST
2. Create a Server Operation
Learn how to create a Server.
Create a Server
From the left navigation, go to the Server section and create a new Server.
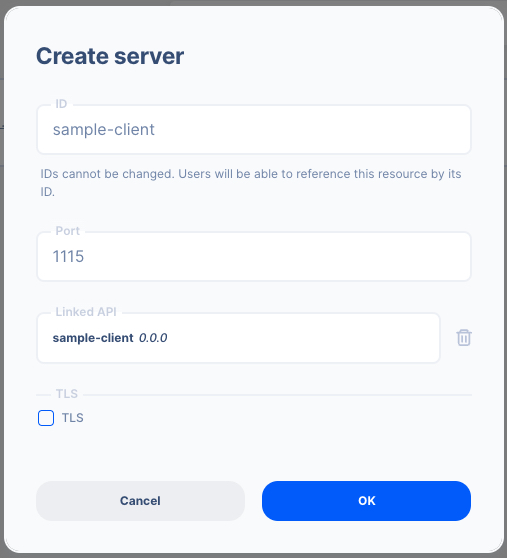
- Server ID:
sample-client - Port Number:
1115Feel free to select your own port number - Linked API:
sample-client(select the API you created above)
Create a Server Operation

- Press the "Add API Operation"
- Select the API endpoint created above
3 : Create Data Simulation using Real Data
Learn how to create a Simulation.
We will use the "real data" to create the test simulation.
1. Send a HTTP request from Postman or CURL
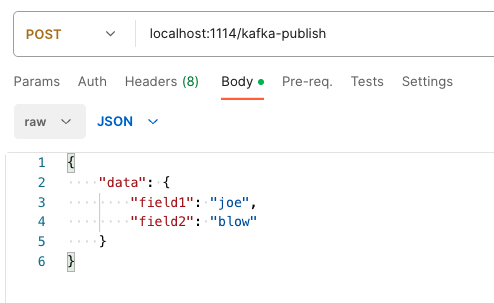
API Autoflow Postman Collections
cURL
curl --location 'localhost:1114/kafka-publish' \
--header 'Content-Type: application/json' \
--data '{
    "data": {
        "field1": "joe",
        "field2": "blow"
    }
}'
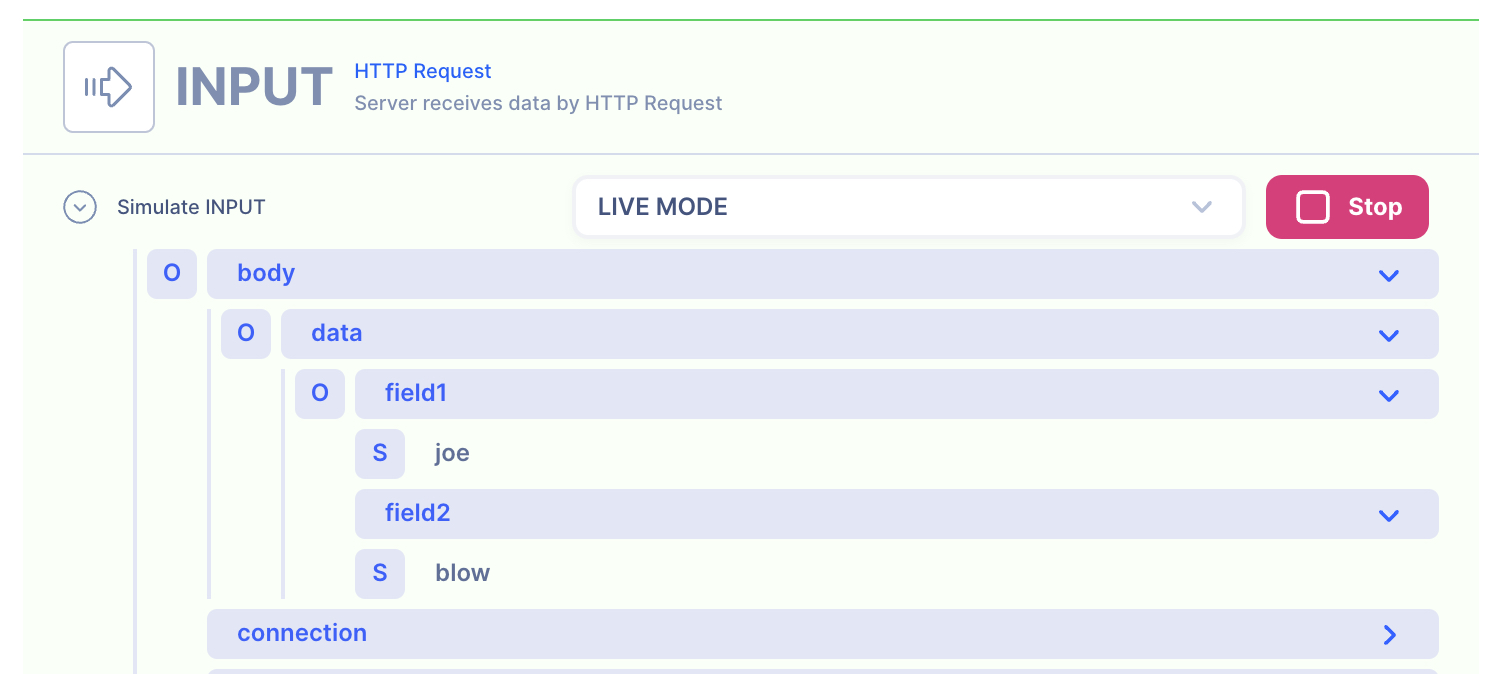
2. Check the data is received by the server endpoint
API Autoflow captures the data received and it can be used to create data simulation.
Action(s)
Learn how to create a Actions.
Add actions to transform the data.
1. JSON encode (stringify) the HTTP request body
API Autoflow server automatically decodes the incoming JSON. Hence we need to encode (stringfy) it back to JSON to send it over Kafka publish.
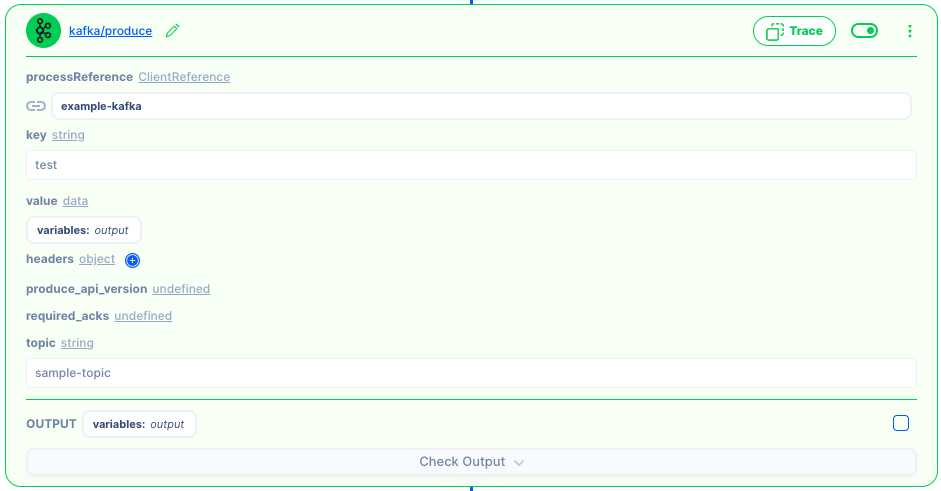
1. Kafka Publish
Create a Kafka Client before moving further.
You can create a new value and publish to Kakfa broker
Variable Set Action
OUTPUT: HTTP Response
1. Create a NEW object and map the IP and Subnet
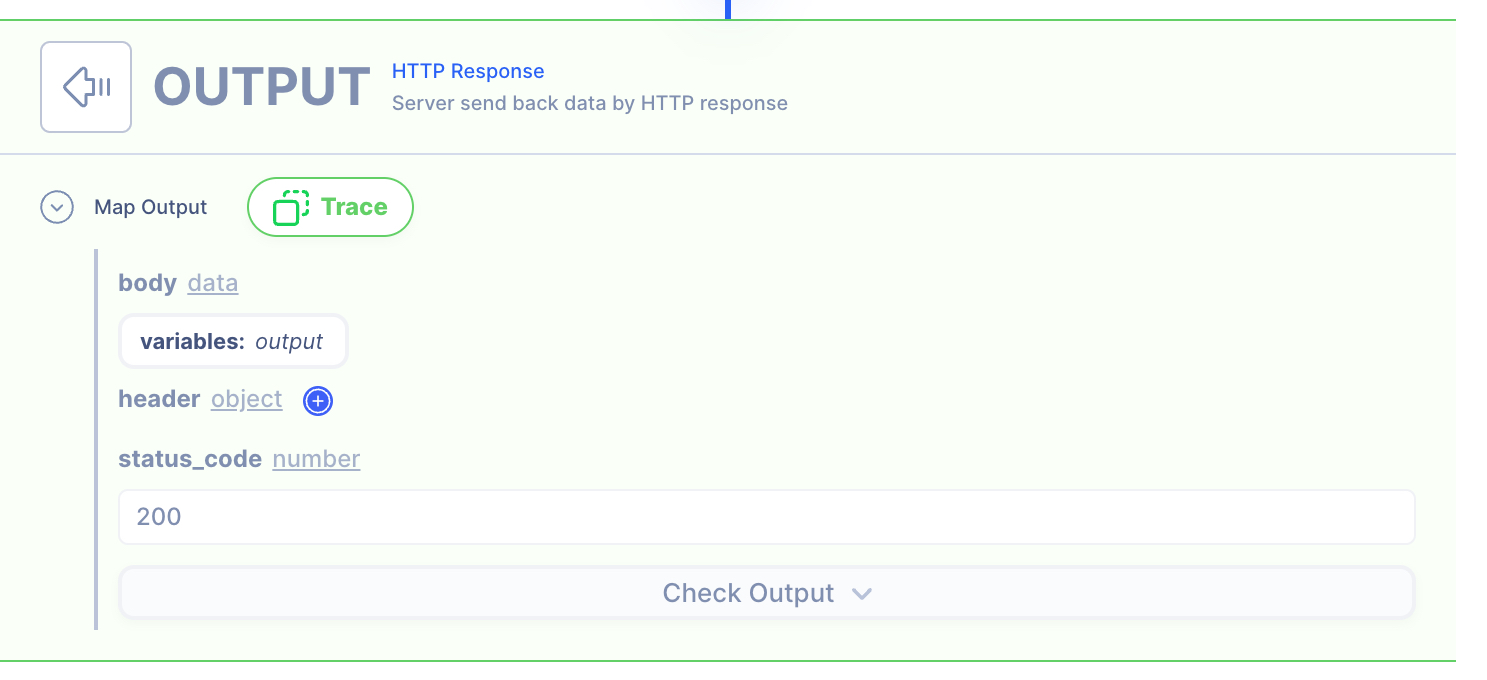
We are simply giving back the response from the Kafka publish action.
Since we need to respond in a JSON object, we can create a new object in the HTTP response.
- address: Getting it from the last actions' the variables:
output
HTTP Response
- Data referenced in HTTP response is what gets sent back to the client.
- Map the output from the actions to be sent back.
NOTE: By default, the action output is set to variable output. If you intend to keep each action's output without it being overwritten by the next action, simply rename the output location in the action's output.
2. Test the API with Postman or CURL
cURL
curl --location 'localhost:1114/kafka-publish' \
--header 'Content-Type: application/json' \
--data '{
    "data": {
        "field1": "joe",
        "field2": "blow"
    }
}'

